- Home
- Main Features
- Configuration Management and Operations
- How to Install Browser Extensions in Multilogin
How to Install Browser Extensions in Multilogin
Author Chloe P (Updated on March 16, 2026) Updated on March 16, 2026
The Uses of Browser Extensions
Using browser extensions, you can install them in your profile just like in a regular browser. Whether it's public extensions (such as ad blockers or password managers) or extensions developed internally by your team, you can run them in any profile.
Why Browser Extensions Are Useful
- Use your favorite tools: Adding Chrome or Firefox extensions can boost your productivity
- Customize your workflow: Load privately or team-built extensions for specific tasks
How to Use Browser Extensions
Want to know how to install extensions via API? Please check the guide on how to use Postman to install browser extensions.
Extension Manager Methods
Who can use this feature?
- 👨💻 Account owners, managers
- 💰 Available for all subscription plans
- Click 'Extensions' in the left menu of the Multilogin interface
- Click 'Add' to start the installation process
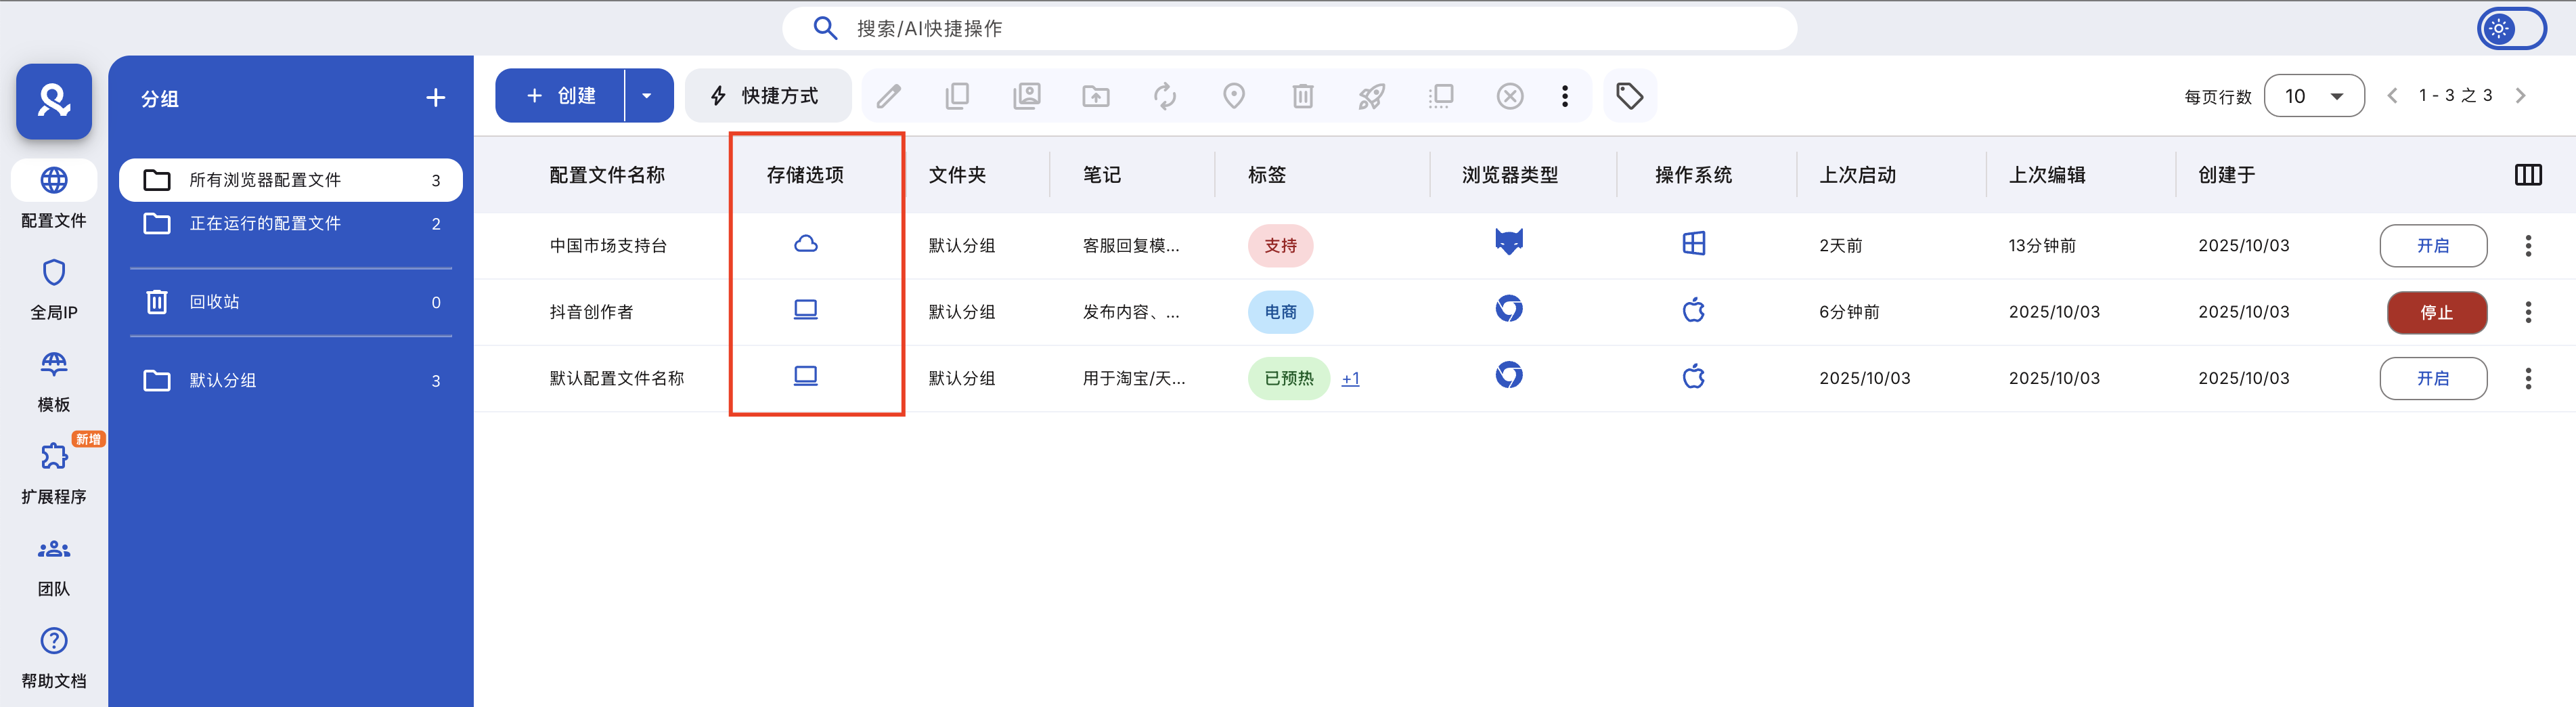
- Choose local or cloud storage
- Enter the URL of the extension: For Chrome/Mimic extensions, enter the URL from the Chrome Web Store. For Firefox/Stealthfox extensions, enter the URL from Firefox Add-ons
- For Chrome/Mimic extensions, enter the URL from the Chrome Web Store
- For Firefox/Stealthfox extensions, enter the URL from Firefox Add-ons
- After entering the URL, click 'Add' to install the extension
Web Interface Methods
This method is the same as installing extensions in a regular browser.
- Launch your browser profile
- If you are using Mimic, go to the Chrome Web Store; if you are using Stealthfox, go to the Firefox Add-ons page
- Select an extension and click "Add to Chrome" or "Add to Firefox"
- You will see the installed extensions in the top right corner of the browser profile window
Folder Methods
Mimic
Extensions placed in the mimic folder are available for all Mimic profiles: new and old, regular and fast.
mimic
Prepare Documents (Method 1)
- Visit the Chrome Web Store and install the extension of your choice
- Go to chrome://version/ and check the 'Profile Path', for example: /Users/username/mlx/profiles/46f57e7c-b80a-371e-9a1e-568cb2830359/391670f2-9c19-4279-9a3b-5a9fcc1f1793/065a29da-a68a-4c56-bf33-3d5019abfe60/Default
chrome://version/
/Users/username/mlx/profiles/46f57e7c-b80a-371e-9a1e-568cb2830359/391670f2-9c19-4279-9a3b-5a9fcc1f1793/065a29da-a68a-4c56-bf33-3d5019abfe60/Default
- Open this path in the file explorer and go to the Extensions folder, where you will see a folder named after the extension ID
Extensions
extension ID
- Once opened, you will see a folder named after the extension version — this is the folder you will need next (see 'Using the File')
extension version
Prepare Documents (Method 2)
- Visit the Chrome Web Store
- Select an extension and copy its ID from the address bar: https://chromewebstore.google.com/detail/extension-name/extension-id
https://chromewebstore.google.com/detail/extension-name/extension-id
- Paste the ID into CRXViewer and choose 'Download as ZIP'
- Extract the ZIP file into a new folder
Please note that .crx files cannot run on their own. You need a folder containing the extension files, including manifest.json. Each extension must have its own separate folder.
.crx
manifest.json
Using Files
- Go to the mlx folder in your file system: Windows: C:Users%username%mlx macOS: /Users/%username%/mlx Linux: /home/%username%/mlx
mlx
- Windows: C:Users%username%mlx
C:Users%username%mlx
- macOS: /Users/%username%/mlx

/Users/%username%/mlx
- Linux: /home/%username%/mlx
/home/%username%/mlx
- Create a new folder named custom_extensions, and inside it create a mimic folder
custom_extensions
mimic
- Put the extension folder from step 4 into the mimic folder
mimic

Video Tutorial
Stealthfox
Extensions placed in the stealthfox folder are only available in new Stealthfox profiles (normal and quick).
stealthfox
Prepare Documents
- Visit the Firefox browser add-ons page
- Select your extension and right-click the "Add to Firefox" button, then choose "Save Link As"
- The .xpi file will be downloaded to your computer
.xpi
Using Files

- Go to the mlx folder in your file system: Windows: C:Users%username%mlx macOS: /Users/%username%/mlx Linux: /home/%username%/mlx
mlx
- Windows: C:Users%username%mlx
C:Users%username%mlx
- macOS: /Users/%username%/mlx
/Users/%username%/mlx
- Linux: /home/%username%/mlx
/home/%username%/mlx

- Create a new folder named custom_extensions, and within it create a stealthfox folder
custom_extensions
stealthfox
- Place the .xpi file from step 3 above into the stealthfox folder
.xpi
stealthfox
Video Tutorial
How to Assign Extensions to Configuration Files
- The Stealthfox profile only shows Firefox extensions
- The Mimic profile only shows Chrome extensions
You can assign extensions to specific profiles for a more personalized experience. Here are a few methods.
Through the extended menu
- Click 'Extensions' in the left menu
- Select the extension you want to assign
- Click 'Manage Assigned Profiles' in the top menu
- Select the profile you want to add the extension to
- Click 'Confirm' to complete the assignment
Through the right-click menu
- Right-click on a configuration file (or multiple configuration files) in the configuration file list
- Select 'Extensions' from the context menu
- Choose the extensions you want to add to the selected configuration file(s)
Setting Through Configuration File
- Navigate to the 'Extra' section of the profile settings page
- Select the extension you want to add to the profile
- Create or update the profile to save the changes
Professional Tips
- Install tools like Grammarly, LastPass, or ad blockers to make work easier
- Test them by adding automation scripts or cookie managers as extensions
- Re-upload custom extensions if changes occur to keep them updated
Frequently Asked Questions
Can I install multiple extensions?
Yes—as long as you make sure they don't conflict with each other.
Will the extension still remain after I close the profile?
Yes, the extension will always be saved in this profile until you delete it.
Are extensions shared between profiles?
No — each profile has its own set of extensions. This is very helpful for maintaining the independence of different profiles.
In this article
- Uses of browser extensions
- Why browser extensions are useful
- How to use browser extensions
- How to assign extensions to profiles
- Professional tips
- Frequently Asked Questions
- Can I install multiple extensions?
- Will extensions remain after I close a profile?
- Are extensions shared between profiles?
Multilogin Community
Stay informed, share your thoughts, and interact with others!
Read more related content
Related Articles
- How to create and start your first profile in Multilogin
- How to start and stop profiles in Multilogin
- How to use the right-click menu in Multilogin
- How to save quick profiles like normal in Multilogin
- How to use cloud and local profile storage in Multilogin
- How to use quick profiles in Multilogin